
To make sure the thread doesn’t come loose again after completing the stitch, I tie a knot at the end, similar to the knot at the start.
Before tying the knot, pull the thread as tight as you want it. After tying the knot, the thread will be secured and you can’t pull it any tighter or loosen it anymore.
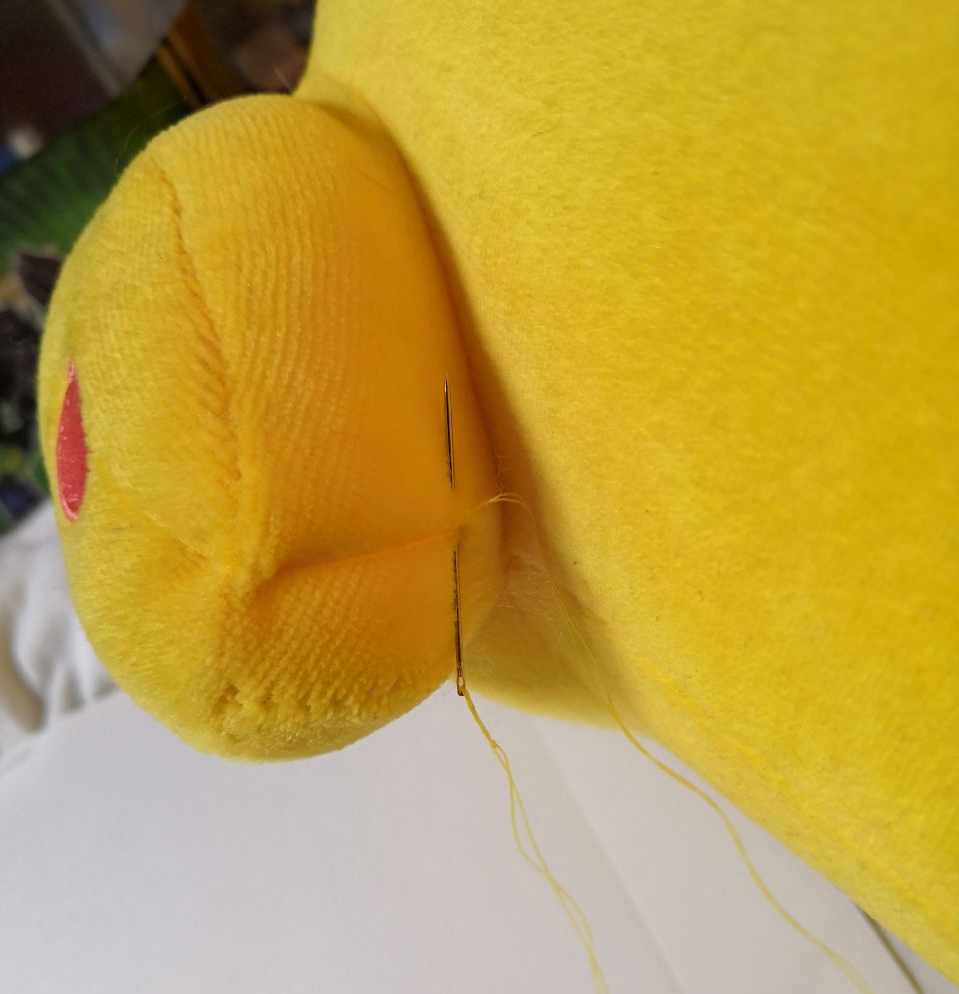
First, push the needle through the fabric, as close to your exit point as possible! The smaller the piece of fabric you stick it through, the smaller your knot will be.
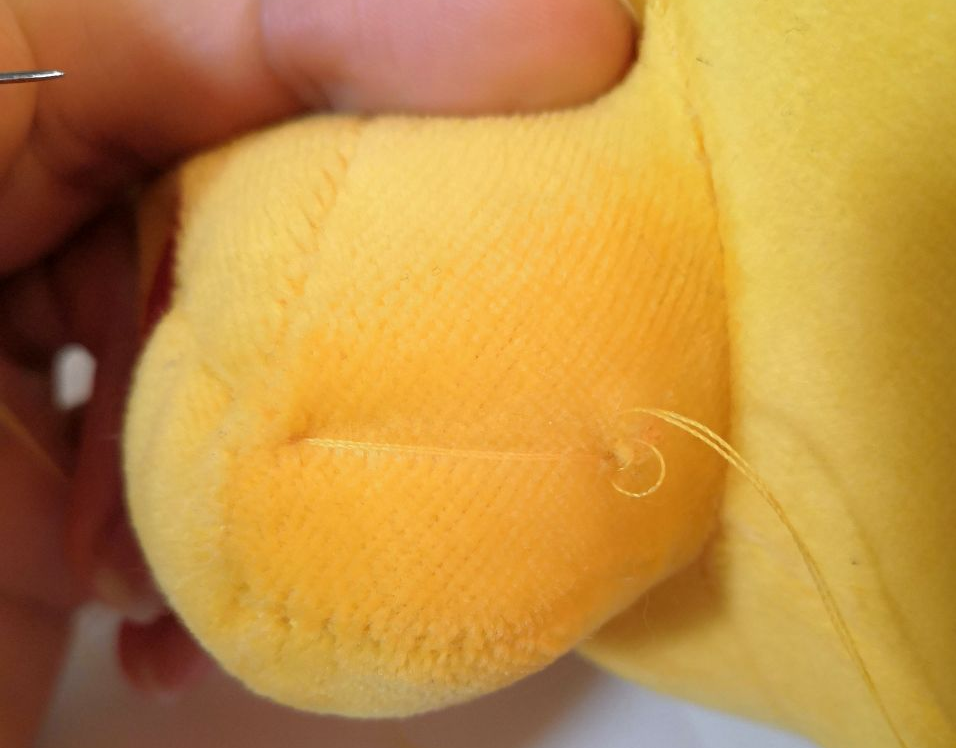
Push the needle through the fabric again, on the same spot. Pull it tight, as tight as you can without breaking the thread. Do this 2-3 times.
Then, push the needle through the fabric again, exiting somewhere away from the stitch. Pull it very tight again, and cut it. This will make the loose thread at the end ‘disappear’ in the plush and be invisible.
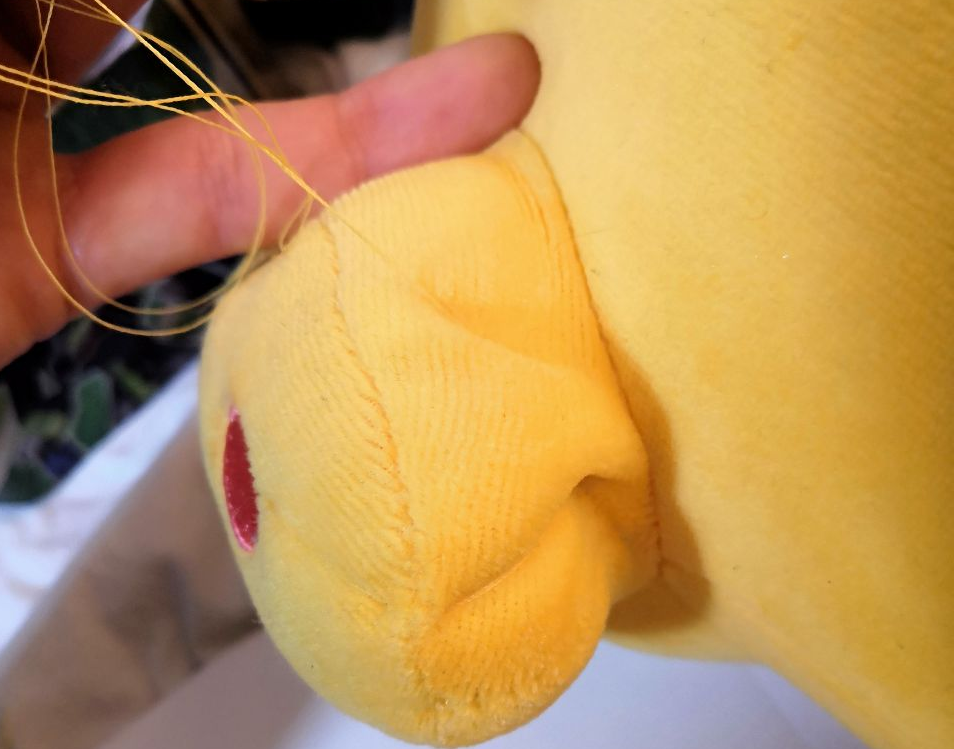
All done 😀
Making small but strong knots may take some practice, but it is very easy to do once you got the feeling for it.