
Whether your plush is big or small, the toes are usually all sewn the same way; with a single or double thread looping at the end of the foot/paw, creating the ‘toe’ effect.
-Hobeon
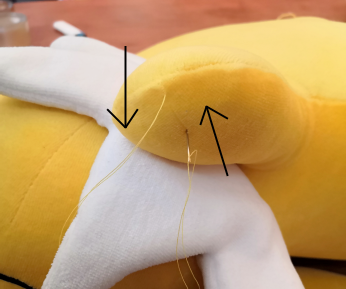
Sometimes these threads get loose, but don’t worry! Once you know how, these loose threads are easily fixed.
It is best to fix loose threads like the one pictured as soon as you can. Depending on the age of the plush, the old thread will have left an imprint in the fabric which is easy to sew over; the longer you leave a loose thread, the more this imprint will vanish.
There is two ways to sew toes: Starting from the inside of the plush, which will hide your knot, but will require your to open the plush. It can also be done from the outside of the plush, but doing that will leave a small knot visible.
If you need this guide, I would highly recommend you sew toes without opening the plush. It is far easier to do and the difference is minimal.
I personally consider opening a plush just to sew the toes a waste of time and only sew from the inside if the plush is already open for whatever reason.
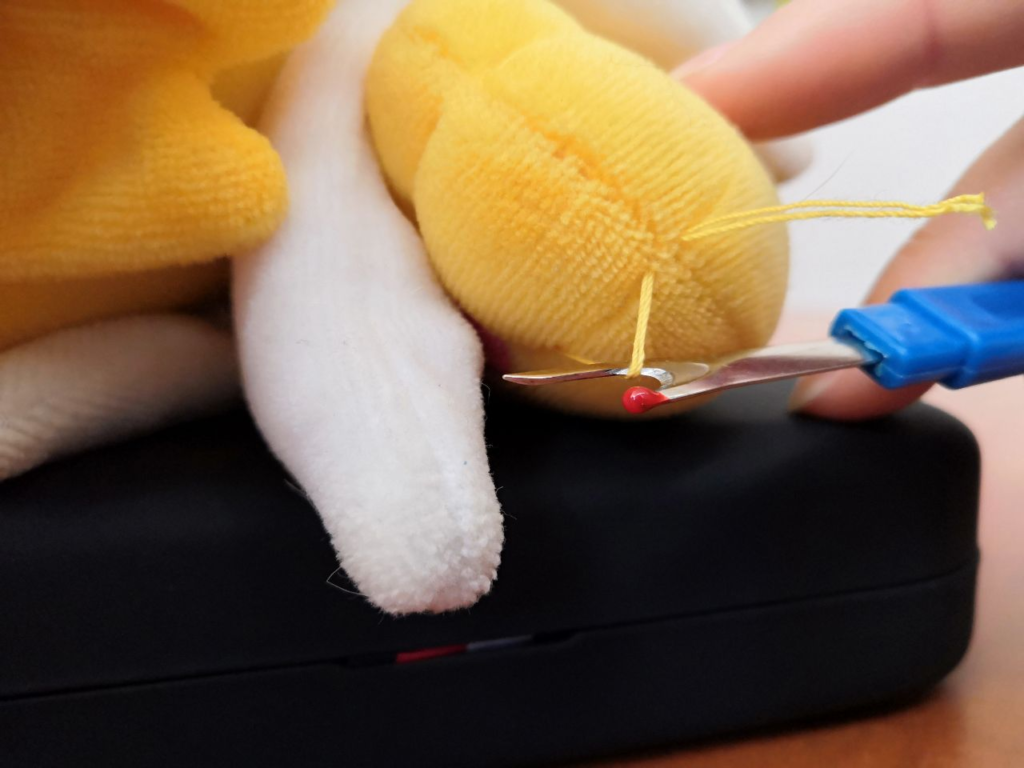
- Start by removing the remains of the old, broken thread. Gently pull it out or cut it off as close to the fabric as you can.
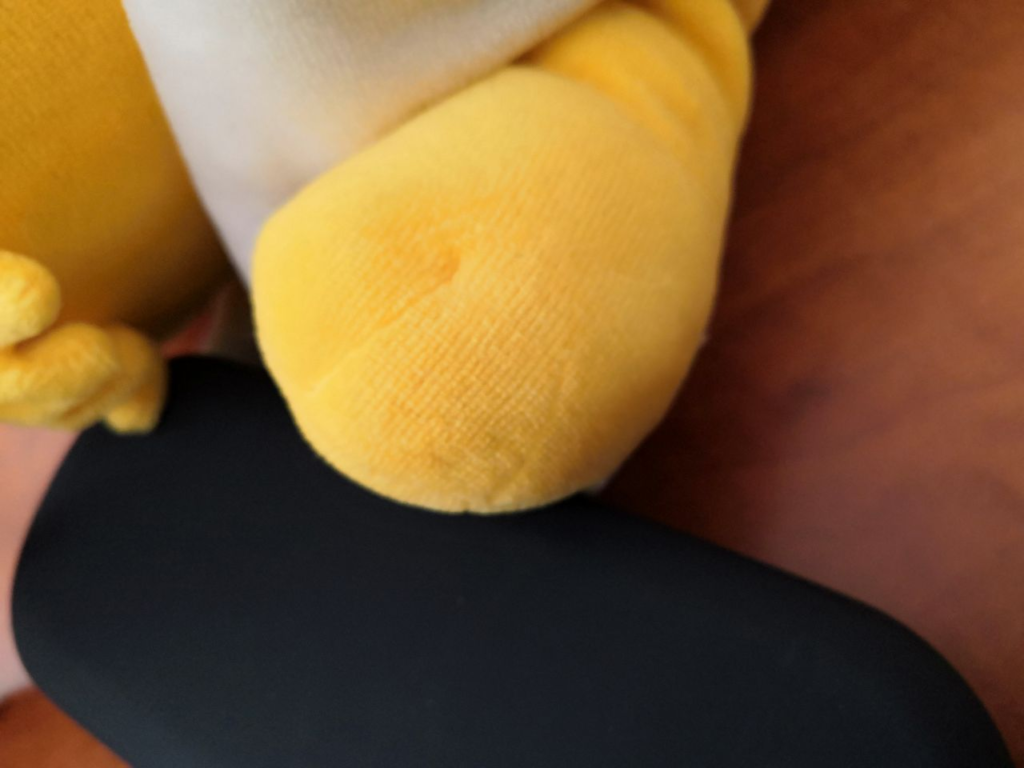
If the damage is ‘fresh’ it should be clearly visible where the old thread was, and you can simply sew over it.
If the marks of the old thread have faded, you will have to use your imagination 🙂
- Prepare a double thread with a knot at the end as usual
(if you need help preparing a thead read Preparing a Needle and Thread )
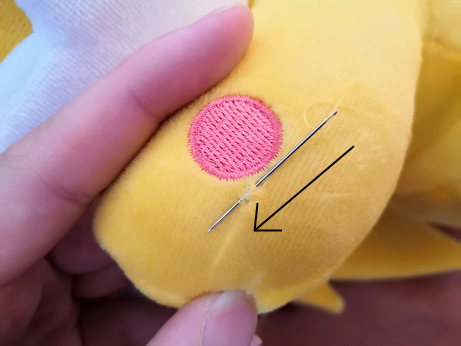
Your first entry point is, depending on the size of your plush, 2-5mm before the old entry point. ‘Exit’ the needle through the old entry point as shown in the picture.
- Stitch under the fabric at the far end of the foot/paw. Your thread will lay on top of the fabric, pushing it down once tightened, creating the ‘toe’ effect.
Gently pull the thread to tighten it.
Enter above first exit point 
Exit through first exit point
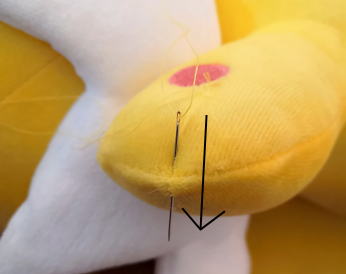
- From the end of the toe, loop back to the top of the paw, exactly over the thread on the bottom. Exit exactly on the first exit point as shown in the images.
- Finally, tighten your thread to satisfaction and sew over yourself in tight loops 2-3 times to fasten the thread and cut it. Making the End Knot
2 replies on “How to Sew Toe Threads”
Thank you so much for this walkthrough! Exactly what I needed 🙂 I’m an utter sewing noob (the only sewing gear I have is a tiny box of a few needles and thread, a freebie from a hotel stay over!) and was searching for a way to fix the paws of a well-loved scooby doo plush. For someone who has zero sewing experience this was great! Easy to follow, the links to how to do other steps were handy, and the outcome looks as good as new! Thank you very much 🙂
Glad to have helped! I wish you and your plush many loving years to come!